
You need to use a password manager!
This guide will walk you through installing and setting up KeePassDX on your Android device.
Weak or reused passwords create vulnerabilities that hackers can exploit.
A password manager allows you to store and generate strong passwords securely.
KeePassDX is an open-source, free password manager for Android that ensures complete control over your credentials without relying on cloud-based services.
Video Tutorial:
What is KeePass?
KeePass is a "Database". Moreso, it's a secure database. There are about 100 apps that can open and manage KeePass databases.
The KeePass database is universal. So you can store the KeePass Database in your Google Drive, Synology Drive, or One Drive (any cloud service) and you'll now have the same database on Desktop and Mobile. Even if you are opening the database with different apps.
My Favorite KeePass Apps:
- KeePassXC: Windows/Linux/Mac.... universal and powerful.
- KeePassDX: Android.... It's just so feature rich and handy. I especially love the MagiKeyboard.
- Keepasium: Mac/iOS... This is the only one I've used on iOS. So if you have a different opinion; let me know in the comments.
What is KeePassDX?
KeePassDX is an Android password manager that uses the KeePass database format, allowing seamless password access across multiple devices.
It is highly regarded for its security, transparency, and offline functionality.
Key Features of KeePassDX:
- Open-source and free to use
- No cloud storage dependency... your data remains private
- Supports multi-factor authentication (TOTP)
- Works entirely offline for enhanced security
For those who prefer complete privacy, KeePassDX can also be downloaded from F-Droid instead of the Google Play Store.
How to Install and Set Up KeePassDX on Android
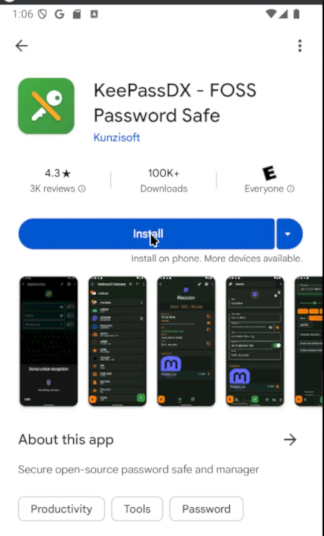
Step 1: Install KeePassDX
- Open the Google Play Store
- Search for KeePassDX
- Select the correct app (ensure it is the open-source version)
- Tap Install
Tip: If you prefer to avoid Google services, KeePassDX is available on F-Droid, a repository for open-source Android apps.
F-Droid (FOSS Android App Store)
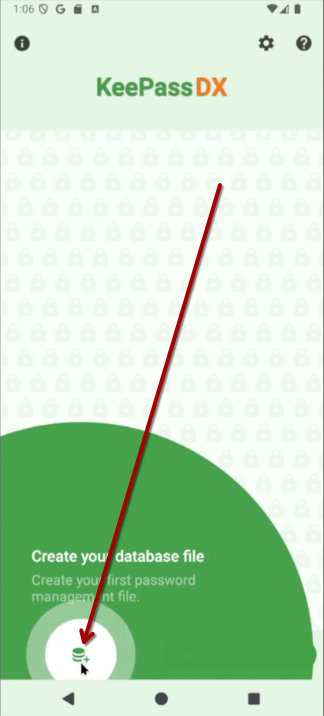
Step 2: Create a New Password Database
- Open KeePassDX after installation
- Tap Create New Database
- Enter a name for your database
- Choose a storage location such as Google Drive or a local directory
- Tap Save
Tip: Storing your database in a cloud service like Google Drive or Nextcloud (FOSS alternative to Big Tech Cloud) allows easy access across devices while keeping passwords encrypted.

Step 3: Set a Strong Master Password
- Enter a secure password for your database
- Confirm the password
- Review the password strength indicator
- Tap OK to finalize
Make your Password Long and Easy to Remember:
Tip: A long passphrase with a mix of letters, numbers, and symbols is more secure than a short, complex password

Step 4: Add Additional Security (Optional)
KeePassDX supports additional security measures, including key files and hardware keys.
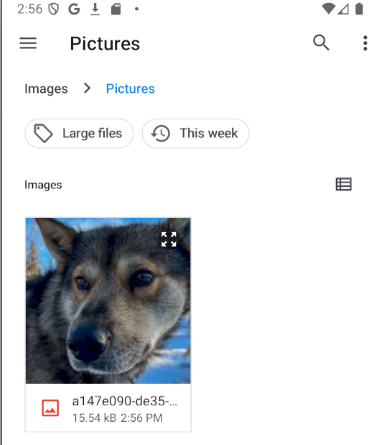
- Key File: You can use a key file (such as an image or generated file) for additional protection. Without this file, the database cannot be opened.
- Hardware Key: If you use a YubiKey or similar device, KeePassDX can integrate with it for added security.
KeyFile Generator:
Example of trying to use a regular file as the keyfile in KeepassDX.
Warning from KeepassDX:
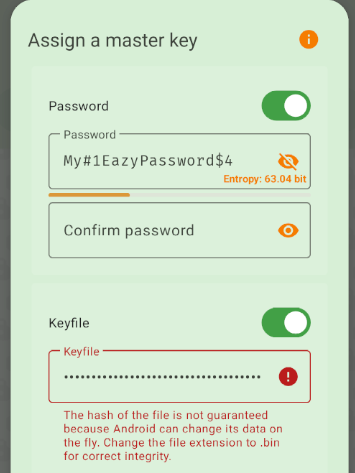
Use the Generate KeyFile for KeepassDX (.bin filetype) button above.
Or create your own .bin file:
On your PC create a new file with your text editor. And input a bunch of text (do way more than what I have put here).
And save the file as a .bin instead of a .txt.

Then upload it to your Google Drive.
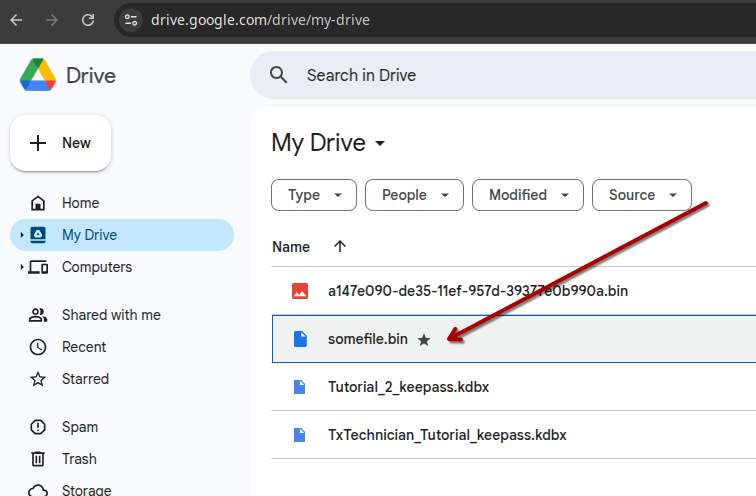
Now you can use this .bin file, that is made up of random text, as your KeyFile.
For added security keep the KeyFile off of "Cloud Storage".
This ensures that even if your cloud gets hacked. The hacker cannot get into your password manager.

Tip: A key file adds an extra layer of security, but ensure it is stored safely. If lost, you will not be able to access your password database.
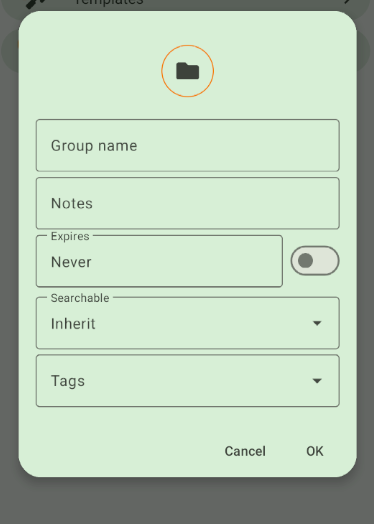
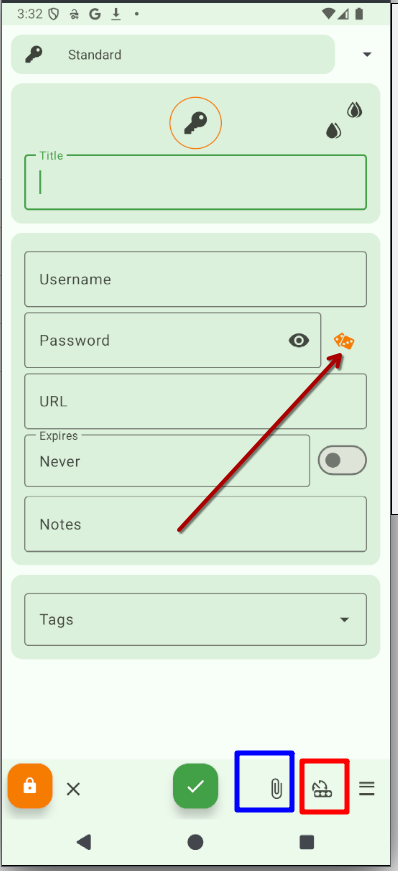
Step 5: Create "Groups" (folders) and add "Entries"
- Open your new database
- Tap New Entry
- Enter a name for the entry (such as a website or service name)
- Enter your username and password
- Tap Save
Tip: Use the built-in password generator to create strong, unique passwords for each account.
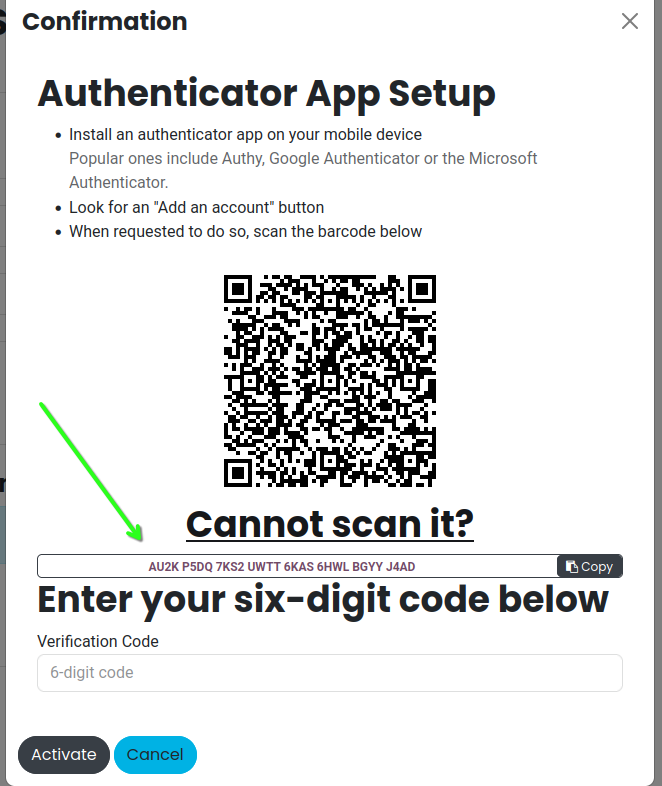
Step 6: Set Up TOTP (Two-Factor Authentication Support)
- Open an existing entry
- Tap Edit (pencil icon at the top)
- Click the TOTP button (bottom right corner)
- Enter the TOTP secret key from the website or service you are securing
- Tap Save
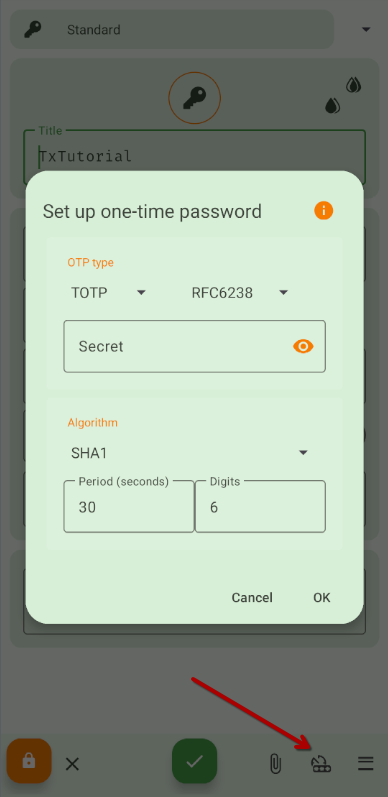
Tip: If a service provides a QR code for TOTP, you can manually enter the secret key instead of scanning the code. Look for the link that says "can't scan" or something along those lines.
Step 7: Enable Autofill for Easier Login
- Open KeePassDX and go to Settings
- Tap Form Filling & Autofill
- Enable Default Autofill Service
- Select KeePassDX from the system settings
Tip: KeePassDX also includes a Magic Keyboard feature that allows you to enter credentials into apps that do not support standard autofill.
How to Use KeepassDX MagiKeyboard
Conclusion
KeePassDX is a powerful and secure password manager that puts control of your credentials in your hands. Unlike cloud-based solutions, it ensures that your passwords remain private while still allowing for secure synchronization if needed.
By following this guide, you can set up KeePassDX on your Android device, store your passwords securely, and enable features like TOTP and autofill for a seamless experience.
For a detailed walkthrough, watch the full tutorial video above. If you found this guide helpful, consider exploring more security tips and tools to enhance your digital privacy.
How to Set Up KeePassDX on Android for Secure Password Management