
What Does System Restore Do?
Think of a system restore point as a snapshot of your Windows system files, installed applications, drivers, and registry settings at a specific moment in time. When you use System Restore, it essentially rolls back your computer's system configuration to that earlier snapshot, undoing changes that might be causing problems. It's crucial to understand that System Restore does NOT affect your personal files, like documents, photos, or emails. Those remain untouched!
How to Create a System Restore Point in Windows 11
Creating a restore point is a simple process and a good habit to get into before making significant system changes.
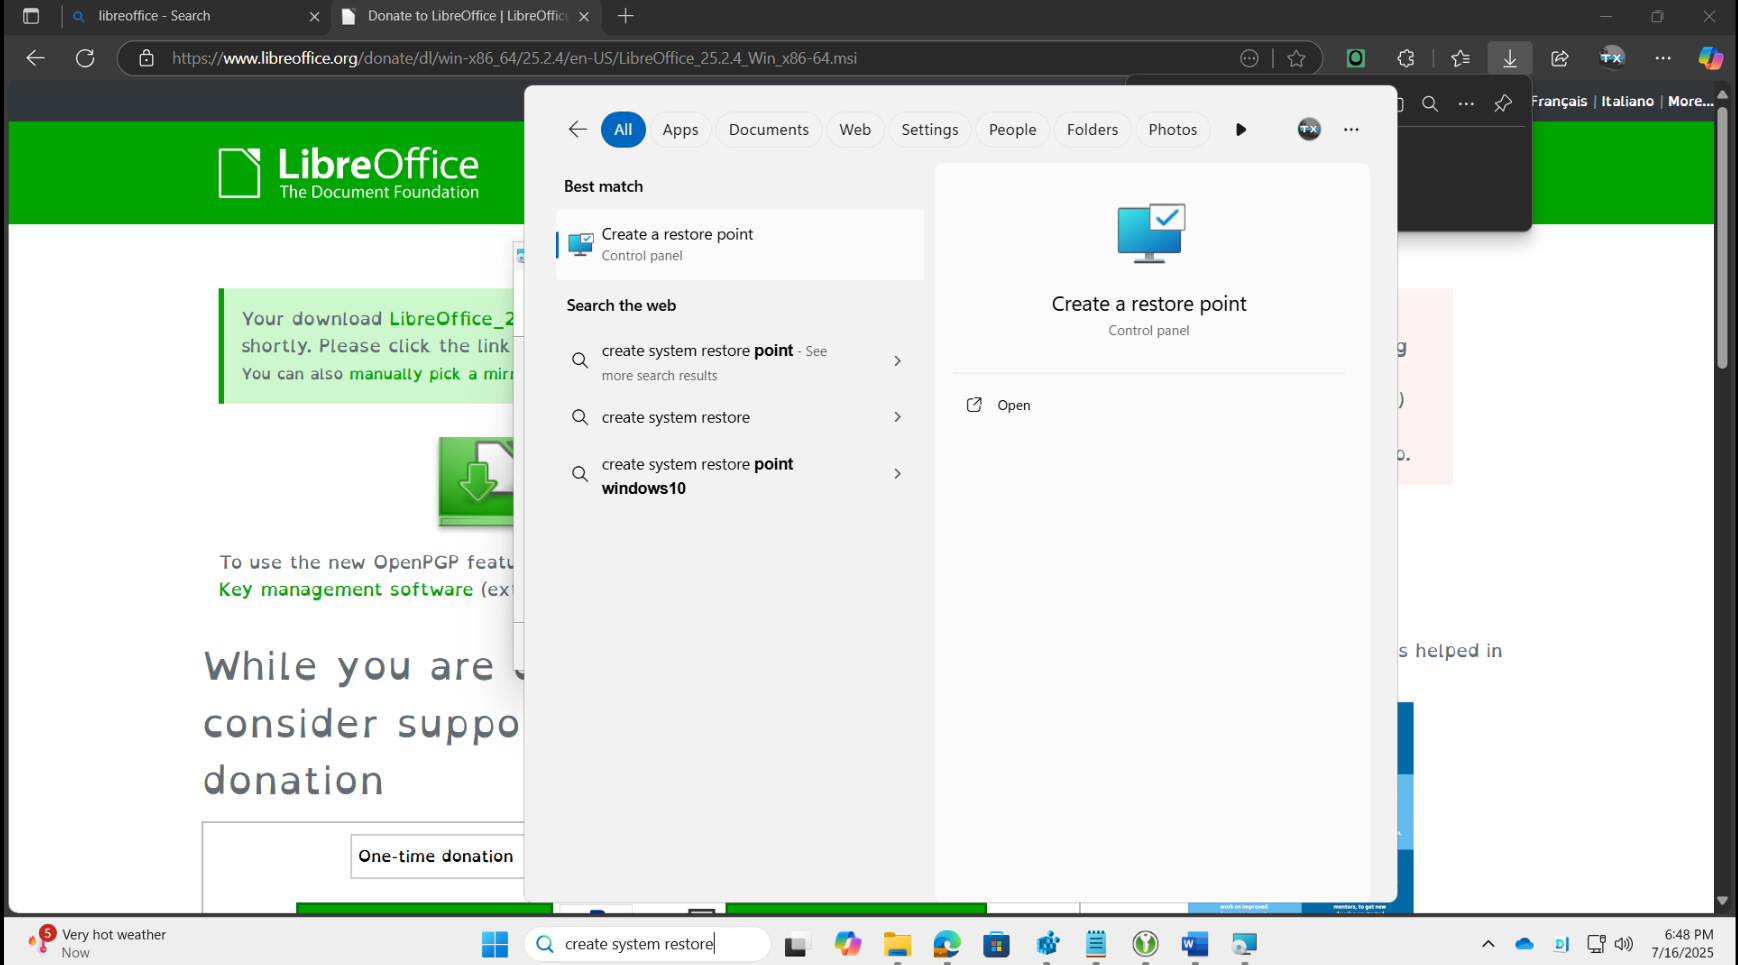
To begin, open System Properties. You can do this by clicking on the Start button and typing "create a restore point" in the search bar. Select "Create a restore point" from the search results, which will take you directly to the System Protection tab.
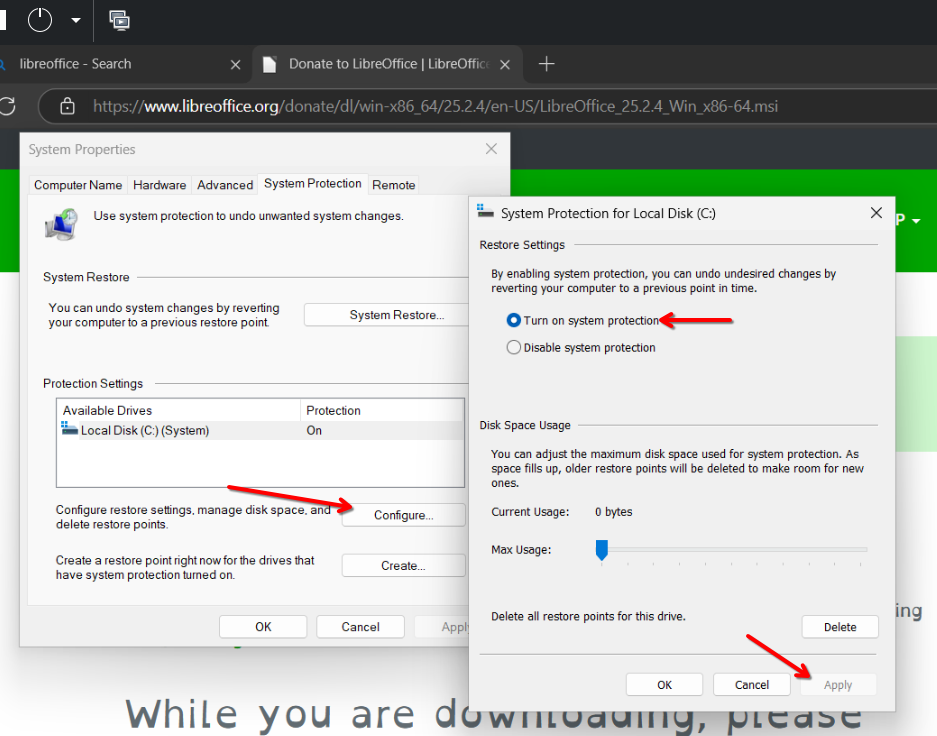
Once in System Properties, check the "System Protection" tab. Look at the "Protection" column for your main drive, usually labeled C:. If it says "Off," you'll need to enable it. To do so, select your drive and click on the "Configure..." button. Choose "Turn on system protection" and then click "Apply" and "OK."
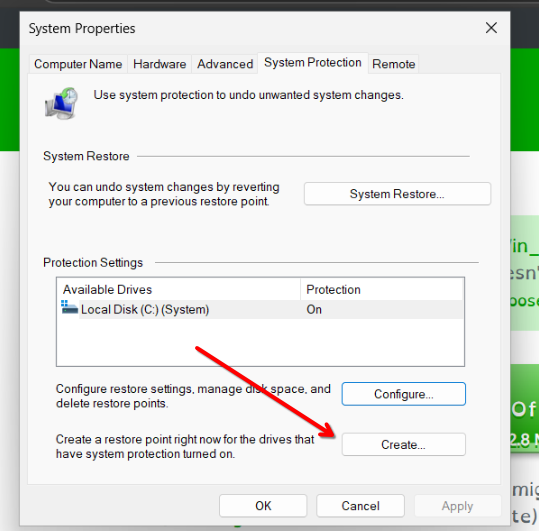
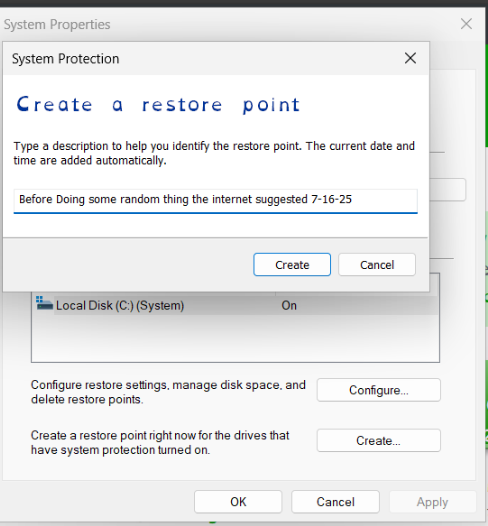
With system protection enabled, click the "Create..." button. A small window will appear asking you to "Type a description to help you identify the restore point." Give it a clear, meaningful name, such as "Before software X installation" or "July 2025 update." After entering the description, click "Create." Windows will then begin creating the restore point, which might take a few moments. Once it's complete, you'll see a confirmation message saying, "The restore point was created successfully." Simply click "Close."
And that's it! You've successfully created a system restore point. Now, if things go awry, you'll have a safety net to fall back on. It's a small step that can save you a lot of headaches down the line!
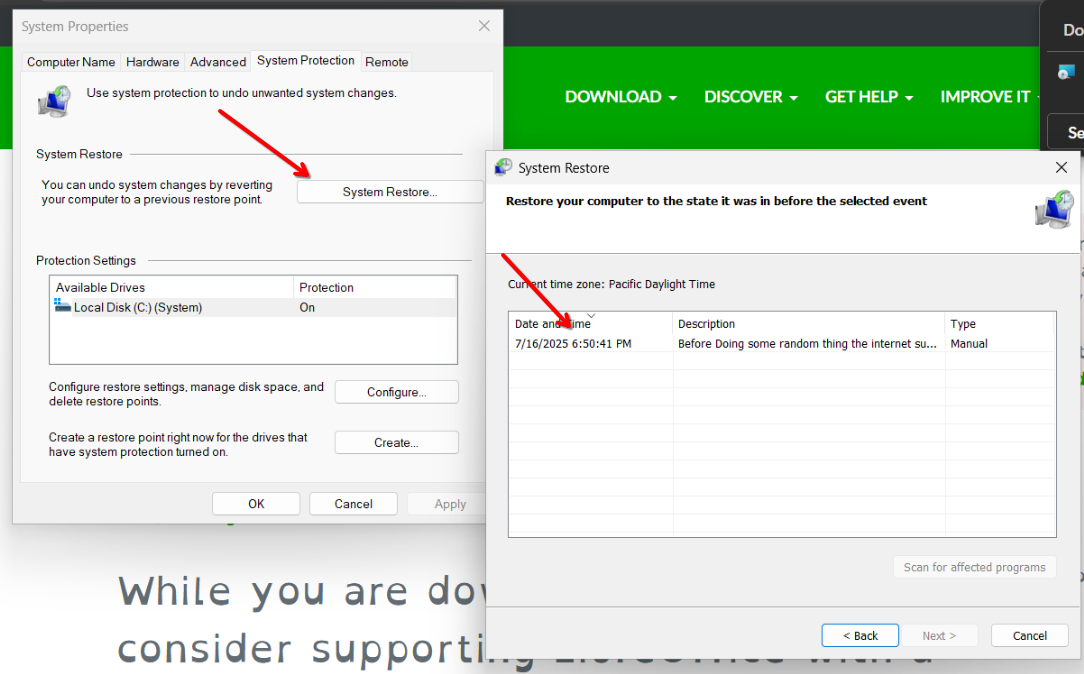
How to make a Windows system restore point